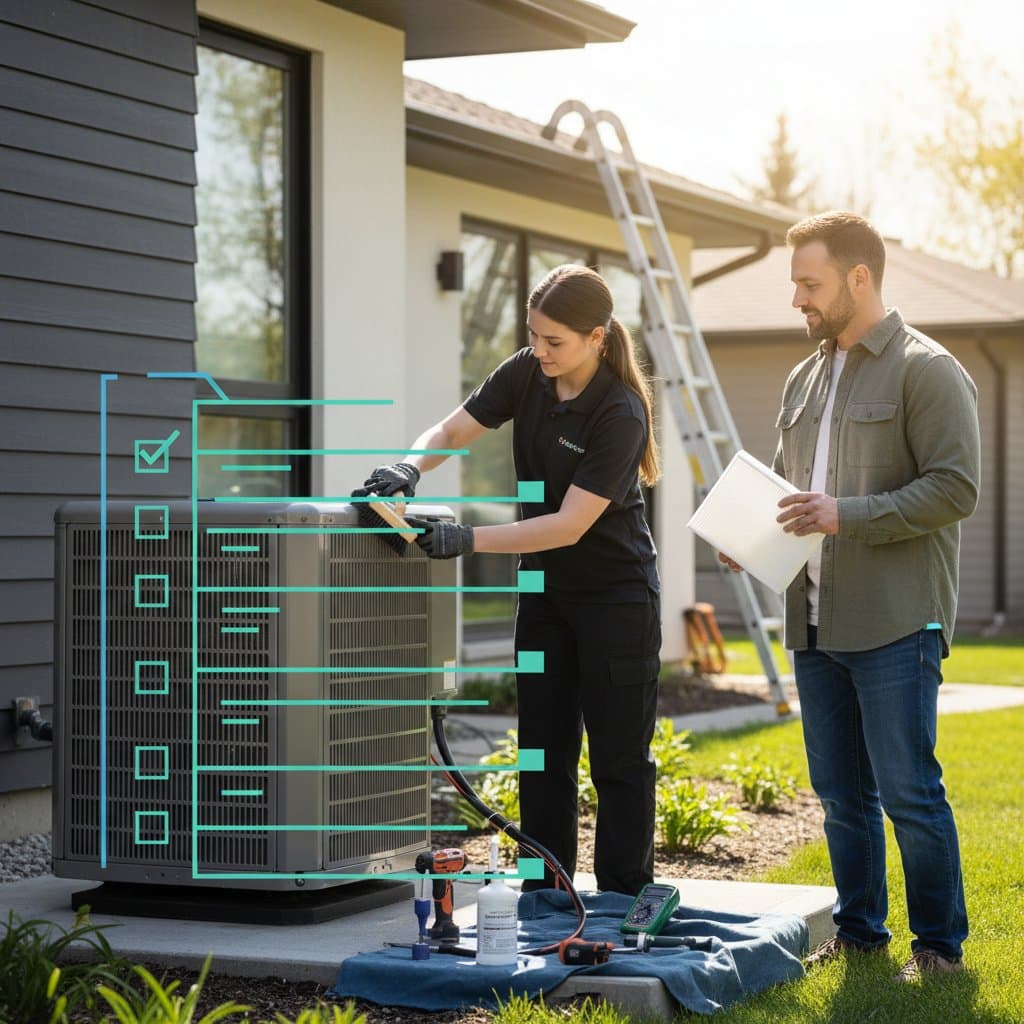
8 Essential Spring HVAC Maintenance Tasks to Avoid $500 Repair Bills
Spring provides an ideal opportunity to perform maintenance on your HVAC system before summer demands increase. Simple actions address common problems that result in costly repairs. A targeted checklist ensures efficient operation, prolongs system longevity, and reduces service expenses by hundreds of dollars.
The following outlines eight key do-it-yourself tasks to maintain peak performance without professional intervention.
| Step | Focus Area | Estimated Time | Savings Potential |
|---|---|---|---|
| 1 | Replace Air Filters | 10 minutes | $100 - $200 |
| 2 | Clean Outdoor Unit | 20 minutes | $150 - $300 |
| 3 | Clear Drain Line | 15 minutes | $200 - $400 |
| 4 | Check Thermostat Settings | 5 minutes | $50 - $100 |
| 5 | Inspect Air Vents | 15 minutes | $100 - $250 |
| 6 | Test System Operation | 10 minutes | $150 - $300 |
| 7 | Lubricate Moving Parts | 15 minutes | $100 - $200 |
| 8 | Seal Leaky Ducts | 30 minutes | $200 - $500 |
Step 1: Replace Air Filters
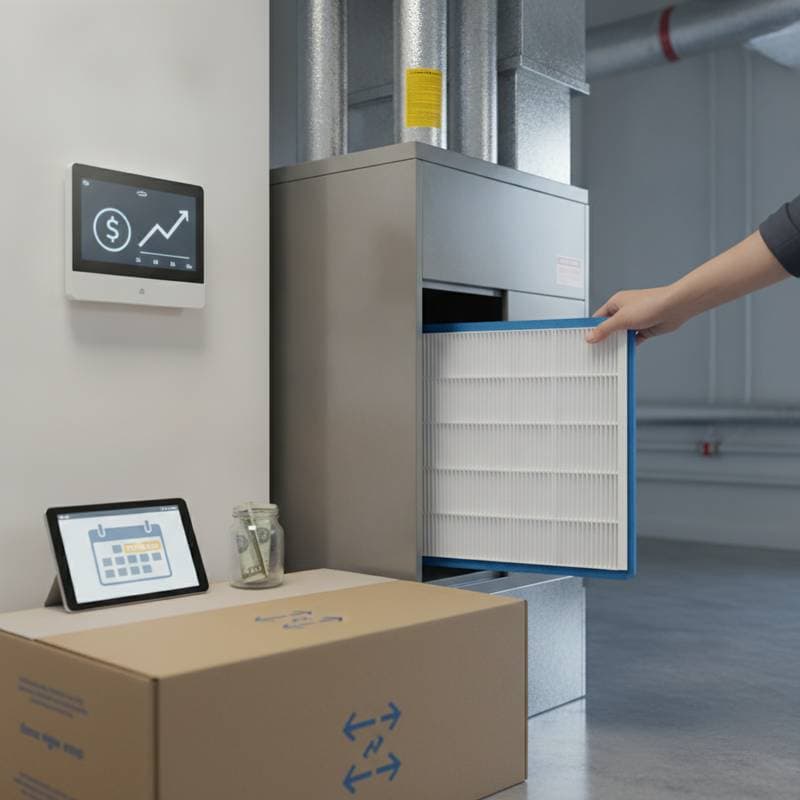
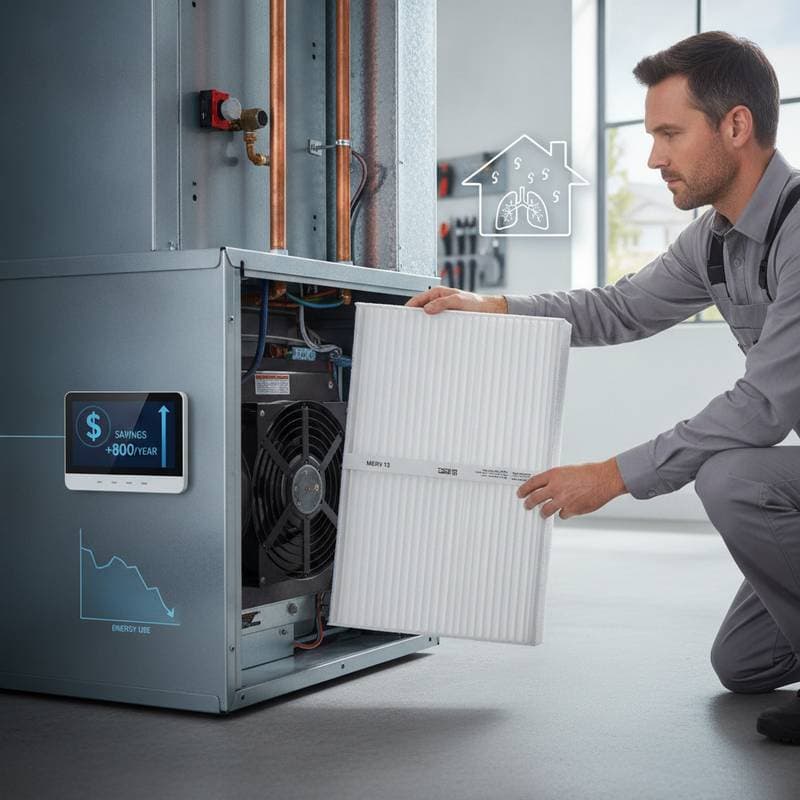
Clogged filters represent a primary source of reduced HVAC efficiency. They impede airflow, compel the system to operate under strain, and elevate energy consumption. Regular replacement or cleaning every one to three months eliminates dust accumulation and promotes unrestricted air circulation.
Select filters with a MERV rating of 8 to 13 to achieve balanced indoor air quality. Ratings above this range capture finer particles yet might restrict flow in aging systems. Consult the equipment manual for specific guidance on filter selection.
Step 2: Clean the Outdoor Unit
The outdoor condenser unit draws in air to facilitate cooling, yet it collects dirt, leaves, and other debris. Obstructed airflow leads to overheating and diminished performance.
Follow these safety measures for cleaning:
- Disconnect power at the unit's breaker.
- Clear surrounding vegetation, leaves, and branches.
- Rinse the coils with a garden hose on low pressure to dislodge dirt.
- Use a fin comb to realign any deformed fins.
A thoroughly cleaned condenser enhances cooling capacity by as much as 15 percent and lowers the likelihood of compressor issues.
Step 3: Clear the Condensate Drain Line
This line expels moistureair conditioner. Algae, mold, and sediment gradually obstruct it, resulting in water backups that damage interiors.
Locate the PVC drain pipe adjacent to the indoor coil. Attach a wet-dry vacuum to the end and suction out debris, followed by a flush of one cup of white vinegar mixed with warm water. Routine clearing prevents overflows that require expensive remediation.
Step 4: Check Thermostat Settings
The thermostat dictates system runtime and overall efficiency. Verify its accuracy to eliminate excessive operation.
Switch to cooling mode and observe the unit's activation. For legacy models, evaluate the option of installing a programmable or smart thermostat. Such devices adjust settings according to occupancy patterns, yielding savings of up to 10 percent on yearly energy use.
Step 5: Inspect Air Vents
Obstructed vents compromise airflow and cause temperature inconsistencies across rooms. Examine each area for barriers like furniture, drapes, or accumulated dust.
Employ a vacuum with a brush tool to clean supply and return registers. This practice not only optimizes system function but also elevates air purity. Rapid dust reaccumulation signals possible duct leaks warranting expert evaluation.
Step 6: Test System Operation
Conduct a full diagnostic prior to intense heat. Lower the thermostat setting by several degrees below ambient and monitor startup.
Assess these elements:
- Abnormal sounds or shakes
- Vent airflow intensity
- Uniform cooling distribution
Struggles in temperature control or odd noises indicate emerging faults. Prompt identification averts repairs exceeding $500 during peak season.
Step 7: Lubricate Moving Parts
Components in established systems, including motors and fans, benefit from periodic oiling to minimize wear. Insufficient lubrication accelerates heat buildup and component degradation.
De-energize the system, identify oil ports on the blower motor, and introduce a few drops of manufacturer-approved lubricant. Excess application draws contaminants; adhere to minimal amounts. Consistent care ensures smooth, quiet function and preserves vital parts.
Step 8: Seal Leaky Ducts
Duct leaks dissipate up to 30 percent of conditioned air, extending cycle times and inflating costs.
Examine exposed ducts in attics, basements, or crawlspaces for gaps at seams and connections. Apply aluminum foil tape or mastic sealant to secure them. Steer clear of fabric-based tapes, which degrade over time. Effective sealing streamlines distribution and eases system workload.
Why These Tasks Deliver Results
Proactive care forestalls severe malfunctions. Overlooked concerns, such as restricted filters or compromised ducts, precipitate failures like refrigerant loss or motor seizure. Interventions for these typically exceed $400, with totals escalating rapidly.
Annual spring execution of these measures fosters reliability, curbs utility expenses, and safeguards investments in core equipment.
When to Call a Professional
DIY efforts cover basic upkeep, yet certain indicators demand expert service. Persistent unusual noises, inconsistent cooling, or visible refrigerant leaks require immediate technician involvement. Electrical faults, refrigerant handling, or complex duct repairs fall outside safe home practices; certified professionals ensure compliance and safety. Schedule an annual tune-up for comprehensive assessment beyond these steps.
Frequently Asked Questions About DIY HVAC Maintenance
How often should I replace my HVAC filters?
Replacement every one to three months suits most households. Homes with pets or allergy sufferers gain from monthly changes to sustain optimal airflow.
Can cleaning my outdoor unit improve cooling?
Affirmative. Debris removal enhances heat exchange and eases compressor effort, leading to superior efficiency.
What happens if I skip drain line cleaning?
Blockages provoke water intrusion, fostering mold and structural harm. Preventive flushing averts these disruptions.
Is it safe to open my HVAC unit for maintenance?
Power isolation permits access for filters or lubrication. Electrical or refrigerant tasks necessitate licensed expertise.
How can I tell if my ducts are leaking?
Observe uneven temperatures, rising bills, or dust near outlets. Experts employ blower tests for confirmation.
What temperature should I set my thermostat for efficiency?
Aim for 78 degrees Fahrenheit during cooling periods to harmonize savings and comfort. Automated models refine adjustments.
Prepare Your System for Summer Reliability
Implement these tasks now to secure uninterrupted comfort. Reliable HVAC performance hinges on seasonal vigilance, delivering peace of mind through the hottest months.