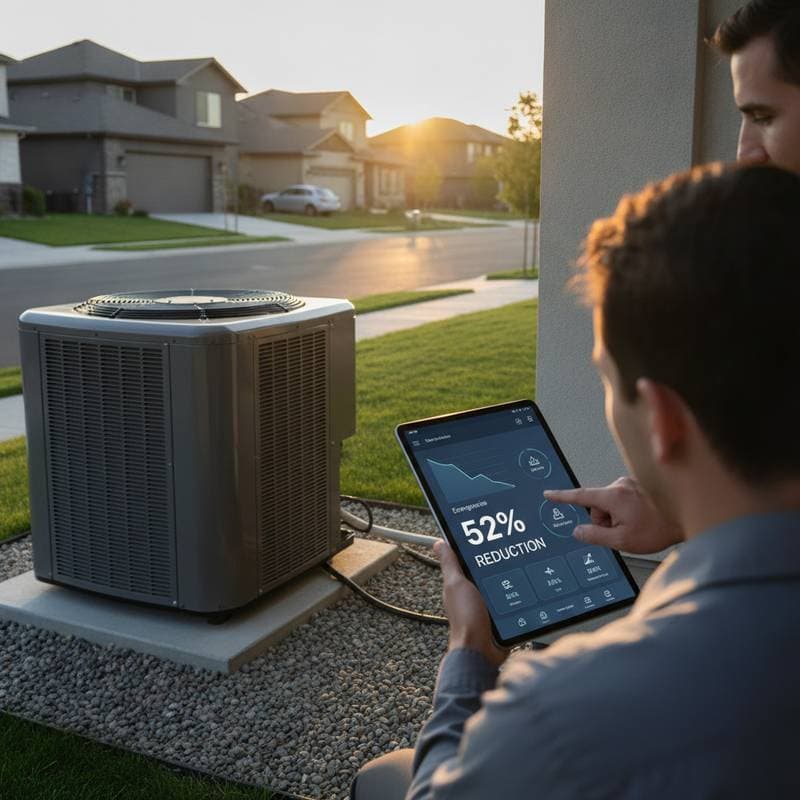
Prepare Your HVAC System for Spring: Save Up to $400 with Five DIY Steps
Spring arrives with rising temperatures, signaling the need to ready your HVAC system for summer demands. Professional tune-ups typically range from $150 to $400, varying by system complexity and regional rates. Homeowners can perform essential maintenance tasks with basic tools and careful steps, minimizing costs while optimizing performance.
This guide details five targeted DIY steps to achieve substantial savings on your spring HVAC tune-up. These include filter replacement, condenser coil cleaning, duct inspection and sealing, thermostat calibration, and system performance testing. Each process suits most residential setups when safety guidelines are observed; consult a professional for complex issues.
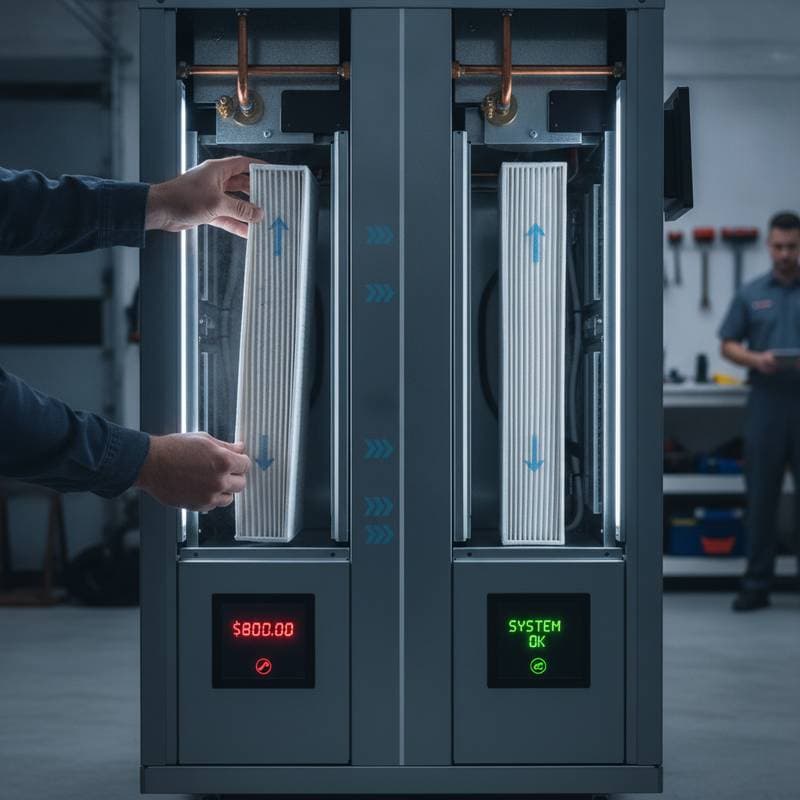
Step 1: Replace or Clean the Air Filter
Importance of Air Filters
Air filters trap dust, pollen, and debris, protecting your HVAC components and improving indoor air quality. Clogged filters strain the blower motor, increase energy consumption, and reduce cooling effectiveness.
Required Materials
- Replacement filter matching your system's size and MERV rating as specified by the manufacturer
- Screwdriver for accessing secured compartments
- Vacuum cleaner or damp cloth for reusable filters
Step-by-Step Process
- Switch off the HVAC system using the thermostat.
- Identify the filter slot, often positioned near the return air vent or within the blower housing.
- Extract the existing filter and examine it for accumulated dirt.
- For disposable types, install a fresh filter with the arrow indicating proper airflow direction.
- For reusable models, rinse with mild soap and water, dry thoroughly, and reposition.
Estimated Savings
Performing this task independently saves $30 to $60 per service call. Well-maintained filters cut energy usage by as much as 15 percent, translating to lower utility expenses over time.
Step 2: Clean the Condenser Coils on the Outdoor Unit
Importance of Condenser Coils
The outdoor unit's condenser coils release heat from your home. Dirt and debris buildup hinders heat dissipation, forcing the system to operate inefficiently and raising the risk of compressor failure.
Required Materials
- Garden hose with spray nozzle
- Soft brush or coil cleaning solution
- Protective gloves and safety glasses
Step-by-Step Process
- Power down the HVAC system at the breaker to ensure safety.
- Clear vegetation and debris around the outdoor unit, maintaining at least two feet of clearance.
- Gently brush away loose dirt from the coils, avoiding bending the fins.
- Apply a manufacturer-approved cleaning solution if needed, then rinse thoroughly with low-pressure water from the top down.
- Allow the unit to dry before restoring power and testing operation.
Estimated Savings
DIY cleaning avoids $75 to $200 in professional fees. Cleaner coils enhance efficiency, potentially reducing cooling costs by 10 to 20 percent during peak season.
Step 3: Inspect and Seal Ductwork
Importance of Duct Integrity
Leaky ducts lose 20 to 30 percent of treated air, compelling your HVAC to cycle longer and consume more energy. Addressing visible leaks promotes even temperature distribution and system longevity.
Required Materials
- Aluminum foil tape suitable for ducts
- Mastic sealant with application brush
- Flashlight and sturdy step ladder
Step-by-Step Process
- Locate accessible ducts in attics, basements, or crawl spaces.
- Activate the system briefly to detect escaping air at connections and joints.
- Note affected areas, then deactivate the system.
- Seal gaps using mastic or foil tape, ensuring full coverage without overlapping excessively.
- Wait for sealant to cure fully before resuming HVAC operation.
Estimated Savings
This maintenance yields $100 to $200 in annual energy reductions. Improved airflow also balances room temperatures, enhancing overall comfort.
Step 4: Calibrate the Thermostat
Importance of Thermostat Accuracy
An imprecise thermostat causes overcooling or undercooling, leading to uneven temperatures and higher bills. Proper calibration ensures the system responds accurately to set points.
Required Materials
- Digital thermometer for verification
- Small screwdriver for adjustments
- Level tool if wall-mounted
Step-by-Step Process
- Set the thermostat to a specific temperature, such as 72 degrees Fahrenheit.
- Place a digital thermometer nearby and allow 15 minutes for stabilization.
- Compare readings; if the difference exceeds two degrees, adjust the calibration screw or offset setting per your model's manual.
- Verify level alignment on the unit to prevent gradual drift.
- Test the system in both heating and cooling modes for consistent response.
Estimated Savings
Calibration eliminates $50 to $100 in service charges. Accurate control prevents unnecessary runtime, saving 5 to 10 percent on energy use.
Step 5: Check System Performance and Airflow
Importance of Performance Monitoring
Regular checks for airflow consistency and operational sounds detect emerging problems early. Proactive observation averts major failures and maintains reliable cooling.
Required Materials
- Screwdriver for minor access
- Flashlight for visibility
- Notebook to document findings
Step-by-Step Process
- Engage the HVAC in cooling mode.
- Inspect each room's vents for uniform air output.
- Listen attentively for abnormal sounds like rattling or hissing near vents or the exterior unit.
- Examine exposed wiring and insulation for damage or deterioration.
- Record any discrepancies and arrange professional evaluation if issues persist.
Estimated Savings
Early detection avoids $300 to $1,000 in repair expenses. This no-cost practice extends equipment life and ensures dependable performance.
Cost Breakdown: DIY Versus Professional Services
| Service | Professional Cost Range | DIY Cost Estimate | Savings Range |
|---|---|---|---|
| Filter Replacement | $40–$60 | $10–$25 | $30–$50 |
| Condenser Cleaning | $75–$200 | $15–$30 | $60–$170 |
| Duct Sealing | $200–$400 | $25–$50 | $175–$350 |
| Thermostat Calibration | $50–$100 | $0–$10 | $50–$90 |
| System Performance Check | $75–$150 | Free | $75–$150 |
Frequently Asked Questions on Spring HVAC Maintenance
How Frequently Should HVAC Filters Change?
Replace filters every one to three months, adjusted for household factors like pet presence or allergy concerns. Follow manufacturer guidelines for cleaning reusable options to sustain optimal function.
Is Cleaning Indoor Coils Feasible at Home?
Surface cleaning of evaporator coils with a soft brush or vacuum suits basic upkeep, but thorough servicing requires professional tools to prevent fin damage or inefficiency.
What Indicates the Need for Expert HVAC Service?
Seek a technician for short cycling, odd smells, temperature inconsistencies, or spiking energy costs. Refrain from handling electrical or refrigerant tasks without certification.
How Long Does a Standard Professional Tune-Up Last?
Expect one to two hours for a comprehensive inspection, cleaning, and testing of key components, ensuring safety and peak operation.
Will Neglecting Professional Tune-Ups Affect Warranty?
Certain warranties mandate yearly professional maintenance; review documentation carefully. DIY efforts complement but do not substitute required services.
When to Engage HVAC Professionals
Key Questions for Technicians
- Which tasks does your tune-up package cover?
- Do you verify refrigerant and electrical integrity?
- Are rebates or promotions currently offered?
- What steps can enhance efficiency outside service intervals?
- Do maintenance subscriptions provide cost benefits?
- What warranties extend to serviced parts?
- How frequently do you advise professional visits?
- Can you supply inspection reports in writing?
- Which upgrades might lower energy expenses?
- What safety protocols follow during evaluations?
Extend Your HVAC Efficiency Through Ongoing Care
Consistent DIY maintenance, combined with periodic professional oversight, safeguards your investment and supports energy savings. Implement these steps annually to prepare for seasonal shifts, ensuring reliable comfort year-round. Monitor performance post-tune-up to address any deviations promptly.