7 Spring Steps to Dodge $3K HVAC Breakdowns
The best way to avoid a $3,000 HVAC breakdown this spring is through preventive maintenance. By checking the system before the heat arrives, homeowners can catch small issues early and keep the air conditioner running efficiently. This guide outlines seven essential steps to protect the system, save money, and maintain comfort all season.
| Step | Task | Estimated Cost if Ignored |
|---|---|---|
| 1 | Replace Air Filters | $200 to $600 for coil cleaning |
| 2 | Clean Outdoor Unit | $800 to $3,000 for compressor repair |
| 3 | Inspect Ductwork | $500 to $2,500 for leak repair |
| 4 | Check Thermostat | $150 to $700 for control failure |
| 5 | Clear Drain Lines | $400 to $1,200 for water damage repair |
| 6 | Lubricate Moving Parts | $300 to $1,500 for motor replacement |
| 7 | Schedule Professional Tune-Up | $3,000+ for system failure |
Why Spring HVAC Maintenance Matters
Spring provides the ideal opportunity to prepare the HVAC system for increased use. After winter inactivity, equipment requires attention to function efficiently as temperatures rise. Dirt, dust, and accumulated wear can strain components, resulting in breakdowns that cost thousands to repair. These preventive steps extend the system lifespan, enhance energy efficiency, and lower utility bills.
Step 1: Replace or Clean Air Filters
The air filter serves as the primary barrier against dust and debris. A clogged filter restricts airflow, compelling the system to labor harder to sustain comfort levels. This extra effort may lead to overheating or frozen coils over time.
How to Do It
- Turn off the HVAC system before removing the filter.
- Locate the filter slot near the return air duct or furnace.
- Slide out the old filter and assess its condition.
- Replace disposable filters or clean reusable ones using mild soap and water.
- Reinsert the filter, confirming that the airflow arrows point toward the correct direction.
Why It Matters
A straightforward filter replacement can boost efficiency by up to 15 percent and avert strain on the blower motor or evaporator coils. Homeowners should replace filters every one to three months, adjusting based on dust levels and the presence of pets.
Step 2: Clean the Outdoor Condenser Unit
The outdoor condenser expels heat from the home and operates under demanding conditions. Spring debris such as leaves, grass, and dirt can obstruct airflow through the coils, causing the compressor to overheat.
Cleaning Steps
- Shut off power to the unit at the disconnect box.
- Clear leaves, sticks, or debris from the area surrounding the condenser.
- Rinse the coils gently from the inside out using a garden hose.
- Straighten any bent fins with a fin comb if necessary.
- Maintain at least two feet of clearance around the unit to support airflow.
Cost of Neglect
Overlooking this maintenance can result in compressor failure, with replacement costs reaching $3,000. Routine cleaning preserves efficiency and enables the system to cool the home more quickly while consuming less energy.
Step 3: Inspect and Seal Ductwork
Leaky ducts quietly waste up to 30 percent of conditioned air, diminishing system performance. During spring checks, examine ducts for gaps, loose joints, or visible damage.
What to Look For
- Loose or disconnected sections
- Dust accumulation around seams or vents
- Uneven airflow between rooms
- Whistling or hissing noises during operation
Fixing the Problem
Seal minor leaks using mastic sealant or metal tape. For extensive problems, engage a professional to test and seal the duct system comprehensively. Sealed ducts enhance comfort and lessen the burden on HVAC equipment.
Step 4: Check and Calibrate the Thermostat
A faulty thermostat may trigger excessive cycling or insufficient operation, squandering energy and accelerating equipment wear.
How to Test It
- Adjust the thermostat several degrees below the current room temperature.
- Listen for the system to activate within one or two minutes.
- Compare readings with a separate thermometer for accuracy.
- Replace batteries if the display appears blank or unresponsive.
Upgrade Option
For those with manual thermostats, upgrading to a programmable or smart model offers benefits. These units adjust temperatures according to schedules, conserving energy and minimizing system stress.
Step 5: Clear the Condensate Drain Line
The air conditioner extracts humidity and directs it outside via the condensate drain line. Algae or mold buildup can obstruct this line, causing leaks and interior water damage.
Maintenance Steps
- Find the drain line adjacent to the indoor air handler.
- Connect a wet-dry vacuum to the outdoor end to extract debris.
- Flush the line with a water and vinegar solution to inhibit future clogs.
- Inspect the drain pan for pooled water, indicating potential blockages.
Why It Matters
A blocked drain risks overflow, harming ceilings, walls, or floors. Annual spring cleaning mitigates the chance of costly water damage and mold proliferation.
Step 6: Lubricate Moving Parts and Inspect Belts
Motors, bearings, and belts in the HVAC system require lubrication to minimize friction. Unlubricated parts may overheat, produce noises, or break, necessitating significant repairs.
What to Do
- Disconnect power to the system.
- Remove access panels to access the blower motor and other components.
- Add a few drops of HVAC-grade oil to motor bearings per manufacturer guidelines.
- Examine belts for cracks or wear and replace as required.
Results
Adequate lubrication and belt checks promote quiet, efficient operation. This maintenance extends the durability of blowers and fan motors, avoiding expensive part replacements.
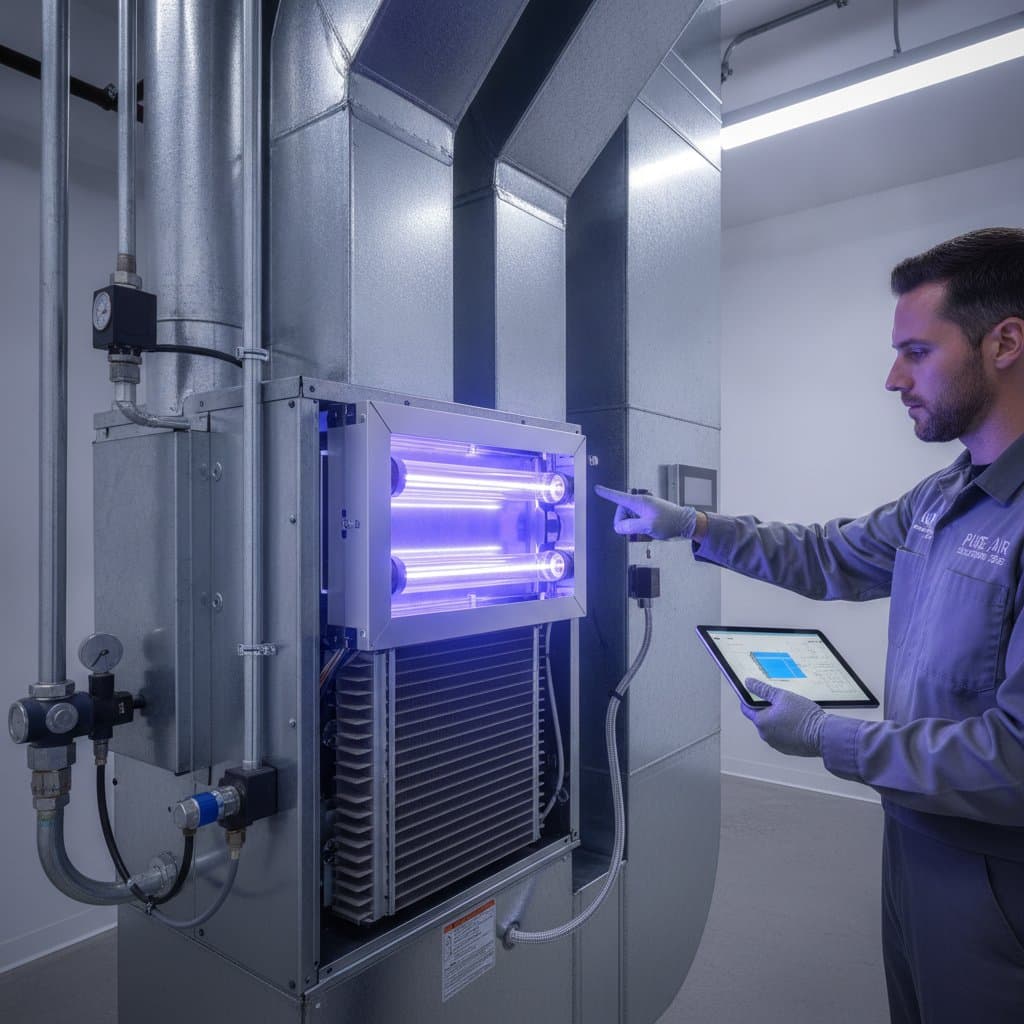
Step 7: Schedule a Professional HVAC Tune-Up
DIY efforts complement but do not replace expert evaluation. Licensed technicians identify concealed issues, such as refrigerant leaks or electrical faults, prior to failure.
What a Tune-Up Includes
- Verification of refrigerant levels and pressure
- Examination of electrical connections and voltage
- Assessment of safety controls and thermostat function
- Cleaning of coils and blower elements
- Airflow measurement and necessary adjustments
Why It Is Essential
An annual spring tune-up guarantees safe, optimal performance. The expense of this service pales in comparison to the potential costs of a major system failure.
How Preventive Maintenance Saves Money
Beyond averting breakdowns, regular upkeep enhances energy use, air quality, and equipment longevity.
Energy Savings
A maintained system demands less power for heating and cooling, yielding reduced utility bills and decreased component wear.
Fewer Repairs
Minor concerns, including loose wiring or soiled coils, can escalate rapidly. Early detection through maintenance keeps expenses in check.
Longer Equipment Life
HVAC systems typically endure 10 to 15 years, yet consistent care often extends this period. Routine tune-ups preserve investment value and postpone replacement costs.
Signs That Require Immediate HVAC Attention
Regular maintenance reduces risks, but certain indicators suggest ongoing problems. Prompt response prevents escalation to expensive repairs.
- Grinding or rattling sounds
- Reduced airflow or temperature inconsistencies
- Elevated energy bills
- Excessive on-off cycling
- Musty or burning smells from vents
- Ice buildup on coils
Contact a professional for inspection upon observing these symptoms. Swift intervention often contains minor issues effectively.
What to Expect from a Professional Spring Tune-Up
Understanding the process builds confidence when scheduling service.
Typical Steps
- Initial Inspection: Review indoor and outdoor units for apparent problems.
- System Cleaning: Clean coils, fans, and drain lines to optimize airflow.
- Component Testing: Evaluate electrical links, capacitors, and motors.
- Refrigerant Check: Measure pressure for effective cooling.
- Airflow Measurement: Assess ducts and vents for balance.
- Performance Review: Discuss results and suggest repairs.
Tune-ups generally last one to two hours, based on system scale and state. Technicians provide a performance report with improvement advice.
Understanding Spring HVAC Service Costs
Professional maintenance fees depend on region and system complexity. Expect $100 to $300 for a standard spring tune-up. Repairs add $75 to $150 per hour. Maintenance plans offer cost savings and priority access.
Frequently Asked Questions About Spring HVAC Maintenance
How Often Should Maintenance Occur?
Systems perform best with two annual tune-ups: spring for cooling preparation and fall for heating readiness. This timing aligns with seasonal needs.
Is Spring the Optimal Time?
Indeed, spring allows greater technician availability before summer demands. Preemptive care avoids peak-season disruptions.
Can Homeowners Handle All Tasks?
Basic actions like filter changes and debris removal suit DIY efforts. Professionals must address refrigerant, electrical, and deep cleaning tasks.
Steps to Implement Your Spring Maintenance Plan
Begin by reviewing the checklist and gathering supplies for DIY steps. Schedule the professional tune-up early to secure a slot. Track maintenance dates to build consistent habits that safeguard your home and budget year-round.