7 Expert Strategies for Optimal Spring HVAC Performance
Spring brings warmer temperatures that demand reliable cooling from your HVAC system. A comprehensive tune-up goes beyond basic tasks to deliver efficient operation, reduced energy consumption, and minimized risk of malfunctions. Implement these seven professional strategies to equip your system for seamless performance throughout the season.
| Step | Focus Area | Result |
|---|---|---|
| 1 | Clean and Replace Filters | Improves air quality and efficiency |
| 2 | Inspect Coils and Fins | Prevents airflow restrictions |
| 3 | Check Refrigerant Levels | Ensures optimal cooling performance |
| 4 | Test the Thermostat | Maintains consistent comfort |
| 5 | Clear Condensate Drains | Stops water damage and mold growth |
| 6 | Examine Ductwork | Reduces energy loss |
| 7 | Schedule a Professional Tune-Up | Extends system lifespan |
The Importance of Spring HVAC Preparation
HVAC systems face peak demands during summer months, making spring an ideal period for proactive maintenance. Regular care promotes efficient operation, averts expensive repairs, and supports healthier indoor environments. Failure to address these needs often results in inconsistent temperatures, elevated utility costs, and accelerated equipment wear.
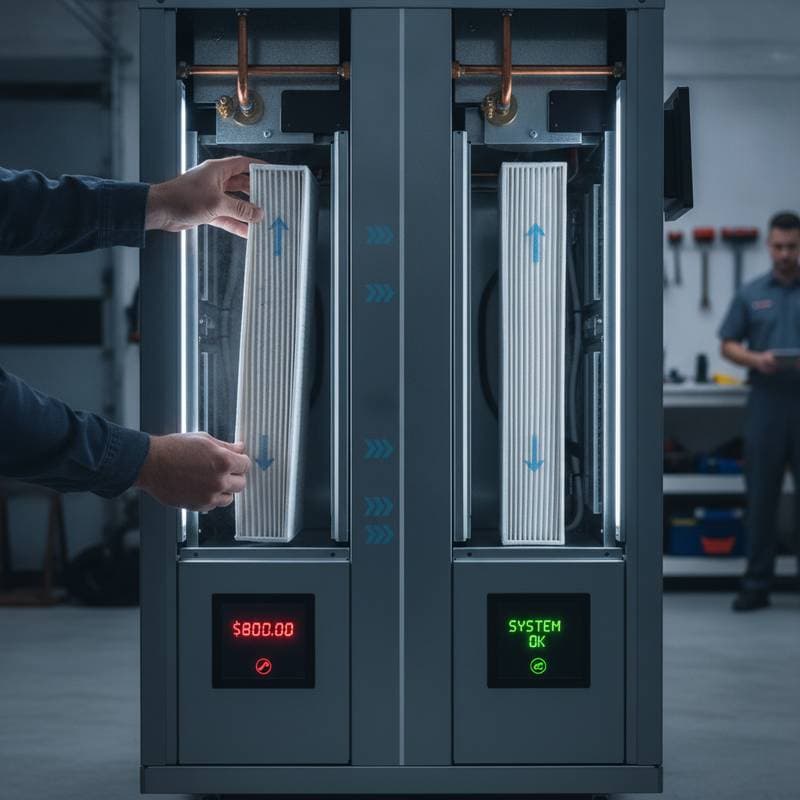
1. Clean and Replace Air Filters
Clogged filters compel the HVAC system to exert extra effort, which increases energy use and stresses internal parts. Homeowners should replace disposable filters or wash reusable ones at intervals of one to three months. Spring pollen and dust levels rise, so frequent attention to filters maintains cleaner air indoors and optimizes system efficiency.
Pro Tip: Select filters with a MERV rating from 8 to 13 to achieve effective particle capture without impeding airflow.
2. Inspect and Clean Coils and Fins
Evaporator and condenser coils accumulate dirt gradually, which diminishes their capacity to transfer heat effectively. Gently remove buildup using a soft brush or vacuum attachment, and employ a fin comb to realign any bent fins. These actions enhance cooling capacity and reduce the time the system operates to reach desired temperatures.
3. Check Refrigerant Levels
Insufficient refrigerant leads to inadequate cooling, frost formation on components, and potential harm to the compressor. Indicators include warm airflow or unusual hissing sounds, which may signal a leak. Only a certified HVAC professional should assess pressure levels and recharge the system according to manufacturer guidelines to restore full operational efficiency.
4. Test and Calibrate the Thermostat
An inaccurately calibrated thermostat contributes to energy waste and temperature fluctuations across rooms. Verify accuracy by placing a trusted thermometer nearby and noting any discrepancies. For older models, installation of a programmable or smart thermostat provides scheduling options, performance tracking, and greater energy savings through precise temperature management.
5. Clear the Condensate Drain Line
The condensate drain line expels excess moisture generated during cooling cycles. Debris and algae buildup can obstruct flow, causing overflows, leaks, or mold proliferation. Flush the line periodically with a vinegar-water solution to eliminate blockages and preserve proper humidity levels while safeguarding the air handler from moisture-related damage.
6. Examine and Seal Ductwork
Leaking ducts lose up to 30 percent of treated air, compelling the system to cycle longer for temperature control. Survey accessible ducts for separations, openings, or damaged insulation. Apply mastic sealant or foil-backed tape to secure joints, which preserves airflow balance and delivers uniform comfort in every room.
7. Schedule a Professional Tune-Up
DIY maintenance covers essentials, yet an annual professional evaluation uncovers hidden concerns. Technicians examine electrical wiring, quantify airflow rates, apply lubrication to components, and detect early signs of deterioration. Such inspections boost immediate performance and forestall major failures that could shorten the system's service life.
Additional Strategies for Spring Energy Savings
Close window coverings during peak sunlight hours to limit interior heat accumulation. Apply weatherstripping to door and window frames to retain cooled air. Operate ceiling fans counterclockwise to distribute air effectively and lessen reliance on the air conditioner. Ensure the outdoor unit remains unobstructed by vegetation or litter for unrestricted ventilation.
Frequently Asked Questions About Spring HVAC Maintenance
How often should I replace my HVAC filter?
Replace filters every one to three months, adjusted for usage intensity and air quality factors. Residences with pets or allergy sufferers benefit from monthly replacements to sustain optimal filtration.
Can I clean my outdoor AC unit myself?
Yes, provided power is disconnected beforehand. Rinse condenser coils with a low-pressure hose to dislodge surface dirt, taking care to avoid fin damage from forceful streams.
What are signs that my system needs refrigerant?
Warm supply air, visible frost on coils, or hissing noises indicate potential refrigerant issues. Engage a professional to diagnose leaks and perform necessary recharges.
Should I have my ducts cleaned every year?
Annual cleaning is not always required. Proceed if inspections reveal excessive dust, mold presence, or diminished airflow; consult a technician for personalized advice.
What does a professional HVAC tune-up include?
Standard services encompass refrigerant level checks, electrical system tests, coil cleaning, duct inspections, and validation of safety mechanisms.
Maintain Efficiency for Lasting Seasonal Comfort
Consistent application of these strategies ensures your HVAC system delivers reliable cooling with minimal interruptions. Homeowners who prioritize spring preparation enjoy lower bills, superior air quality, and extended equipment durability. Regular vigilance transforms routine maintenance into a foundation for worry-free summer living.