Eight Essential Spring HVAC Tasks to Prevent Summer Air Conditioning Failures
As temperatures rise, the air conditioning system in a home assumes a critical role in maintaining comfort. Neglecting spring maintenance often leads to reduced efficiency, elevated energy expenses, and unexpected failures during peak summer demand. This guide details eight key HVAC tasks designed to ensure optimal performance, extend equipment lifespan, and avoid disruptions when heat intensifies.
1. Replace or Clean the Air Filter
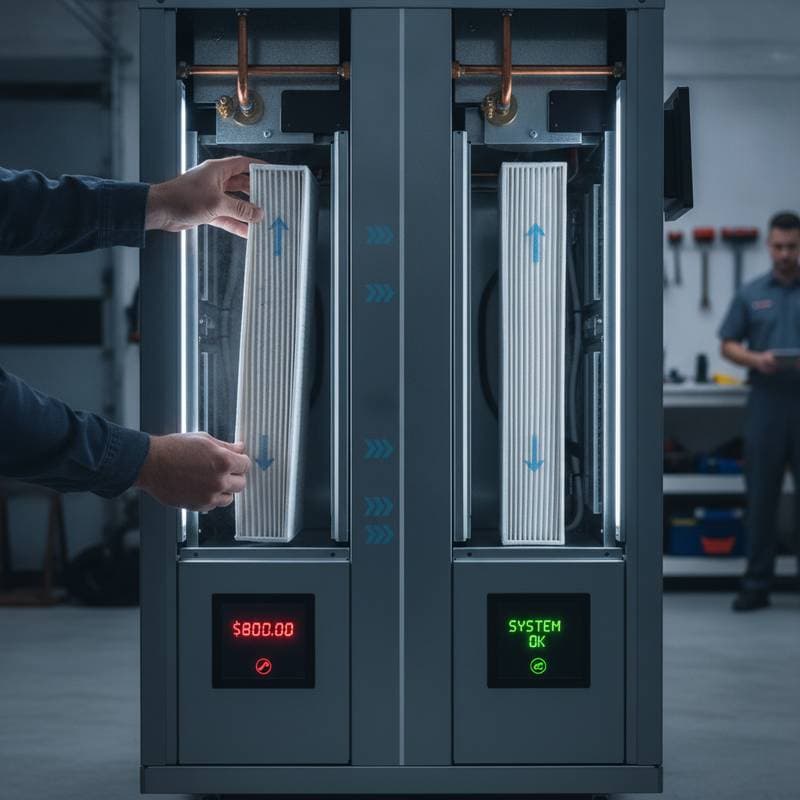
Air filters capture dust, pollen, and other particles to protect the system and improve indoor air quality. A clogged filter impedes airflow, forcing the blower motor to strain and increasing wear on components. Homeowners should inspect filters monthly and replace disposable types or clean reusable ones every one to three months, adjusting frequency based on household occupancy, pets, and local pollution levels. Selecting a filter with a MERV rating of 8 to 13 balances filtration effectiveness with system compatibility.
2. Clear Debris from the Outdoor Condenser Unit
The outdoor unit, or condenser, expels heat from the refrigerant, but accumulated leaves, grass clippings, and soil hinder this process. Blocked airflow raises operating temperatures and reduces cooling capacity. Maintain a clearance of at least two feet on all sides by removing vegetation and debris; use a garden hose on a low-pressure setting to rinse the coils gently, taking care not to bend the delicate fins. Perform this task after the first spring mowing to establish good habits.
3. Inspect and Clean Supply and Return Vents
Vents and registers serve as pathways for conditioned air to reach living spaces, yet obstructions like furniture, curtains, or accumulated dust disrupt distribution. Inefficient circulation results in uneven temperatures and higher energy use. Conduct a room-by-room walkthrough to verify that all vents remain fully open and free of blockages; remove grilles if necessary and clean interiors with a vacuum equipped with a brush attachment or a soft, damp cloth. This simple step can restore up to 20 percent of lost airflow in many homes.
4. Verify and Adjust Thermostat Functionality
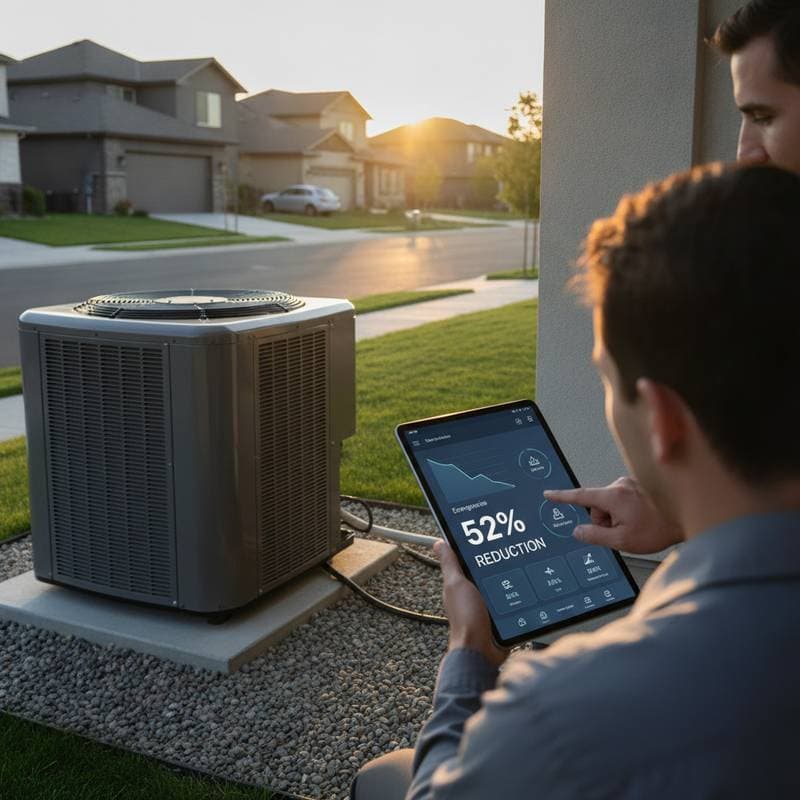
The thermostat regulates system operation to achieve desired temperatures without excess runtime. An inaccurate or outdated model contributes to discomfort and inefficiency. Test the current setting by comparing it to a separate thermometer; for manual units, consider installing a programmable version that adjusts automatically during off-peak hours, or a smart model that learns user patterns via app integration. Proper calibration ensures the system activates only when needed, potentially lowering cooling costs by 10 percent or more.
5. Examine Ductwork for Leaks and Damage
Duct systems transport cooled air throughout the home, but leaks at seams, joints, or punctures cause significant energy loss, with studies indicating up to 30 percent of air escaping in older installations. Reduced delivery of cool air leads to longer run times and strain on the unit. Inspect visible duct sections in attics, basements, or crawl spaces for gaps, tears, or disconnected fittings; apply mastic sealant or foil-backed tape to minor issues, but engage a certified technician for comprehensive pressure testing and repairs on hidden or extensive damage.
6. Conduct an Early System Performance Test
Running the air conditioner in mild spring weather reveals potential issues before summer stress tests the equipment. Faulty components may produce odd sounds, insufficient cooling, or irregular airflow patterns. Activate the system for 15 to 30 minutes and monitor output temperatures, which should differ by 14 to 20 degrees Fahrenheit from intake air; note any vibrations, rattles, or odors. Addressing anomalies promptly prevents minor problems from escalating into costly emergencies amid high repair demand.
7. Clean the Condensate Drain Line
During operation, the evaporator coil produces condensation that the drain line directs away to prevent water damage and maintain humidity control. Blockages from algae, mold, or debris cause overflows, potentially harming ceilings, walls, or the system's electrical parts. Locate the drain line access point, typically near the indoor unit, and flush it with a solution of one part white vinegar to ten parts water using a wet-dry vacuum or funnel; repeat annually or if water pools around the unit. Persistent issues warrant professional intervention to avoid compressor failure.
8. Arrange a Professional HVAC Tune-Up
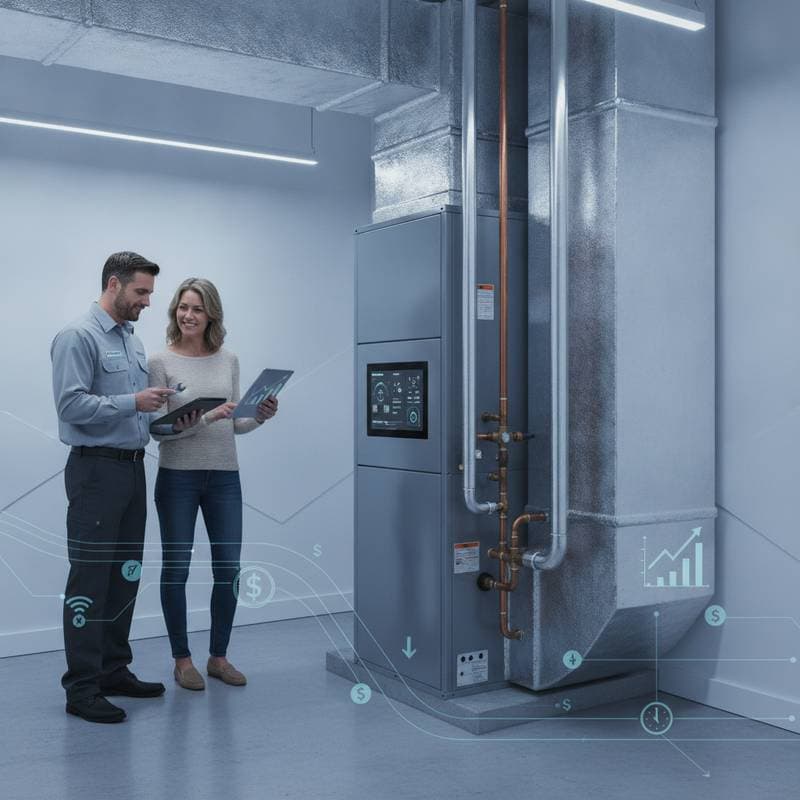
While DIY tasks address basic upkeep, a comprehensive inspection by a qualified technician uncovers hidden wear, such as refrigerant leaks, electrical faults, or coil corrosion. These services include measuring refrigerant levels, lubricating moving parts, tightening connections, and calibrating controls for peak efficiency. Schedule the appointment in early spring to secure availability and receive detailed reports on system health, including energy-saving recommendations. Regular tune-ups can extend equipment life by years and qualify homeowners for manufacturer warranties.
Frequently Asked Questions
How Often Does HVAC Equipment Require Professional Maintenance?
Experts recommend servicing heating and cooling systems biannually, with spring preparation for cooling and fall checks for heating. This routine detects issues early, optimizes performance, and complies with many warranty requirements. Adjust intervals based on usage intensity or environmental factors like coastal salt exposure.
Is It Safe to Clean Condenser Coils at Home?
Surface-level cleaning with a hose removes loose dirt effectively, but accessing and treating internal coils demands specialized equipment to avoid refrigerant release or fin damage. Professionals use foaming cleaners and fin combs for thorough results without voiding warranties. Home attempts risk injury from high-voltage components or sharp edges.
Why Does the Air Conditioner Run Continuously Without Cooling the Space?
Common culprits include low refrigerant charges, frozen evaporator coils from restricted airflow, or failing compressors. Start troubleshooting by changing the air filter and checking outdoor unit clearance. If symptoms persist, a technician can perform diagnostic scans to pinpoint and resolve the root cause efficiently.
What Is the Optimal Thermostat Setting for Summer Efficiency?
Aim for 75 to 78 degrees Fahrenheit during occupied hours to balance comfort and savings, raising it by 7 to 10 degrees when away. This strategy reduces runtime by up to 10 percent per degree without sacrificing livability. Integrate ceiling fans to enhance perceived coolness and allow higher settings.
Maximize Summer Comfort Through Proactive Care
Implementing these spring HVAC tasks equips the air conditioning system to handle seasonal demands reliably. Homeowners gain peace of mind, lower utility bills, and a healthier indoor environment. Consistent attention to maintenance transforms potential vulnerabilities into strengths, ensuring effortless cooling when it matters most.