8 Spring HVAC Tasks to Prevent Costly Summer Woes
Spring offers an ideal opportunity to ready your HVAC system for impending summer heat. Simple maintenance actions taken now can avert expensive repairs, minimize energy consumption, and maintain comfortable indoor conditions throughout the warmer months. Completing these eight key spring HVAC tasks ensures optimal system performance and protects your home investment.
| Task | Purpose |
|---|---|
| Replace Air Filters | Improve airflow and indoor air quality |
| Clean Outdoor Unit | Remove debris that restricts performance |
| Check Thermostat Settings | Ensure accurate temperature control |
| Inspect Ductwork | Prevent energy loss and uneven cooling |
| Test System Performance | Identify early signs of wear or malfunction |
| Clear Drain Lines | Avoid leaks and humidity problems |
| Lubricate Moving Parts | Reduce friction and extend equipment life |
| Schedule Professional Maintenance | Guarantee system reliability and safety |
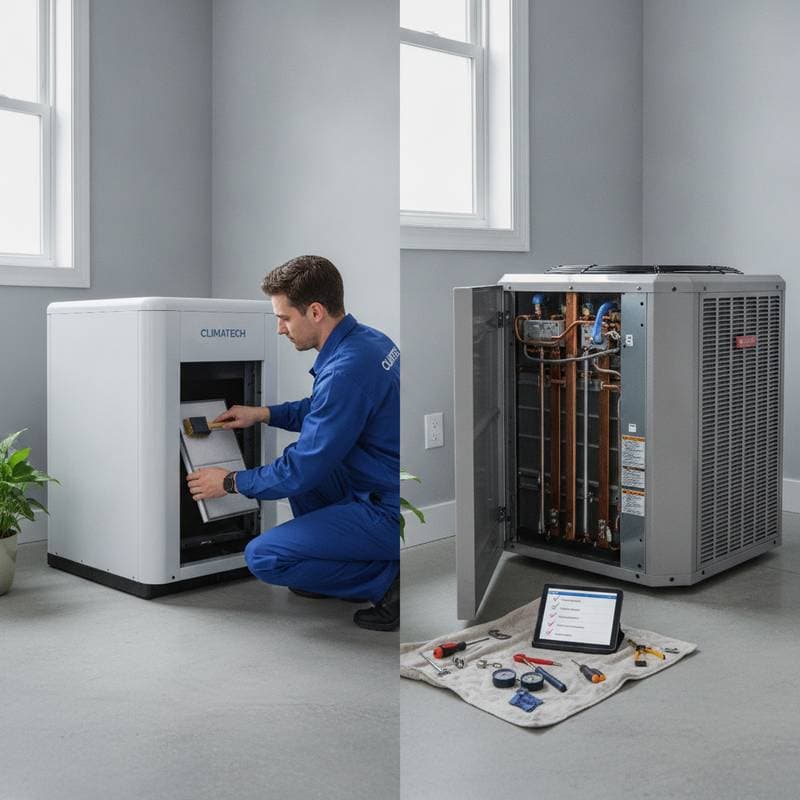
1. Replace or Clean Air Filters
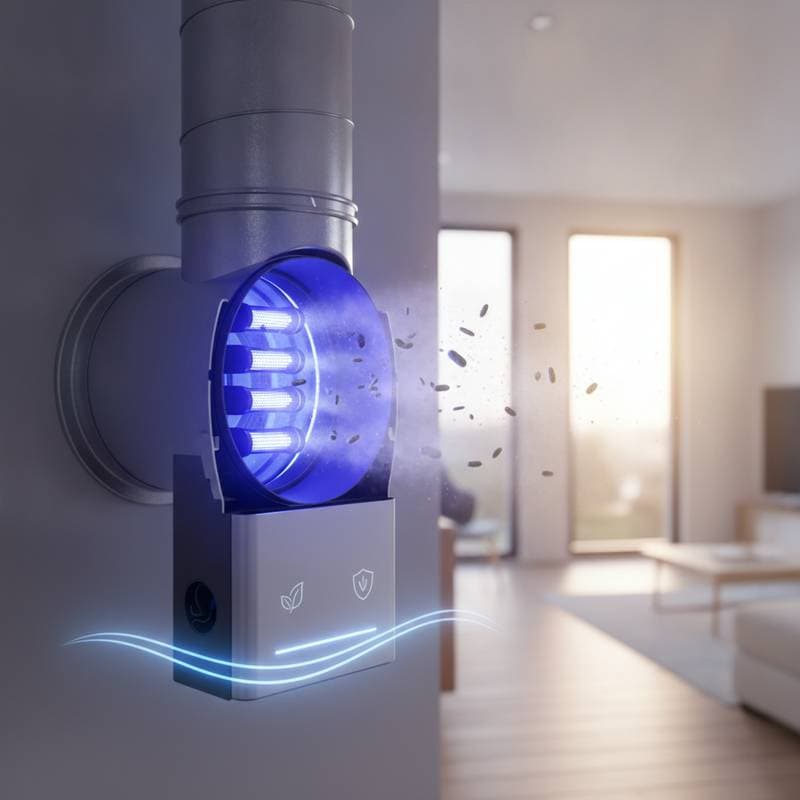
Air filters in your HVAC system capture dust particles, pollen, and other airborne contaminants, thereby preserving clean indoor air and supporting efficient operation. As filters accumulate debris, they impede airflow, compelling the system to labor excessively and increasing energy demands. Homeowners should replace disposable filters every one to three months, depending on usage and environmental factors, or clean reusable filters with mild soap and water. This routine action not only enhances system longevity but also reduces the likelihood of costly component failures.
2. Clean the Outdoor Condenser Unit
During winter and early spring, the outdoor condenser unit often gathers leaves, twigs, dirt, and pollen that hinder its ability to dissipate heat effectively. Begin maintenance by switching off the power supply at the breaker to ensure safety, then use a soft brush to remove loose debris from the fins and coils. Follow with a gentle rinse using a garden hose on low pressure, avoiding high-force sprays that could bend delicate components. Maintain a clearance of at least two feet around the unit to facilitate unrestricted airflow, which optimizes cooling efficiency and prevents overheating during peak summer use.
3. Check and Calibrate the Thermostat
The thermostat serves as the central control for your HVAC system, dictating when heating or cooling activates to maintain desired temperatures. Inspect the device to confirm it registers room temperature accurately; compare readings with a separate thermometer if necessary. For older manual models, evaluate the potential benefits of installing a programmable thermostat, which allows scheduling of temperature setbacks during unoccupied periods, or a smart thermostat that learns user patterns via app integration. Accurate calibration and modern upgrades can yield significant savings on cooling expenses while upholding consistent comfort levels.
4. Inspect and Seal Ductwork
Ductwork distributes conditioned air throughout your home, but leaks or damage can result in substantial energy loss, with studies indicating up to 30 percent of air escaping through unsealed joints. Access attics, basements, or crawl spaces to examine ducts for separations, holes, or insulation wear, paying particular attention to connections at vents and registers. Repair issues by applying foil-backed tape or mastic sealant to create airtight seals, avoiding cloth duct tape which deteriorates over time. Sealed ducts promote uniform cooling distribution, lower utility bills, and enhance overall system efficiency.
5. Test the System Before the Heat Arrives
Conducting a full system test in spring allows detection of potential problems before summer demand overwhelms your HVAC setup. Activate the air conditioner and observe operation for 15 to 30 minutes, noting any unusual sounds like rattling or grinding, diminished airflow from vents, or failure to produce adequately cool air. Measure temperature drops across the evaporator coil, ideally 15 to 20 degrees Fahrenheit, using a thermometer if available, and ensure balanced air delivery to all rooms. Identifying and resolving minor issues at this stage avoids emergency service calls and maintains reliable performance when temperatures soar.
6. Clear the Condensate Drain Line
Air conditioners dehumidify indoor spaces by condensing moisture from the air, which then drains away through a dedicated line; blockages from algae, dirt, or debris can lead to overflows, water damage, and elevated humidity. Locate the drain line access point, typically near the indoor evaporator coil or furnace, and flush the line with a mixture of one part white vinegar to ten parts water to dissolve buildup without harsh chemicals. Follow the flush with plain water to clear residue, and consider installing a drain pan or float switch for added protection against future clogs. Regular clearing prevents mold proliferation and preserves the system's moisture removal capabilities.
7. Lubricate Moving Components
Components such as blower motors, fan blades, and drive belts endure continuous motion during the cooling season, leading to friction that accelerates wear if not addressed. Consult the equipment owner's manual to identify lubrication ports and recommended oil types, typically SAE 20 non-detergent oil for HVAC applications. Apply oil sparingly to specified points, wiping away excess to avoid attracting dust, and inspect belts for cracks or slackness, replacing them if needed. Proper lubrication quiets operation, diminishes energy loss from resistance, and prolongs the service life of critical parts.
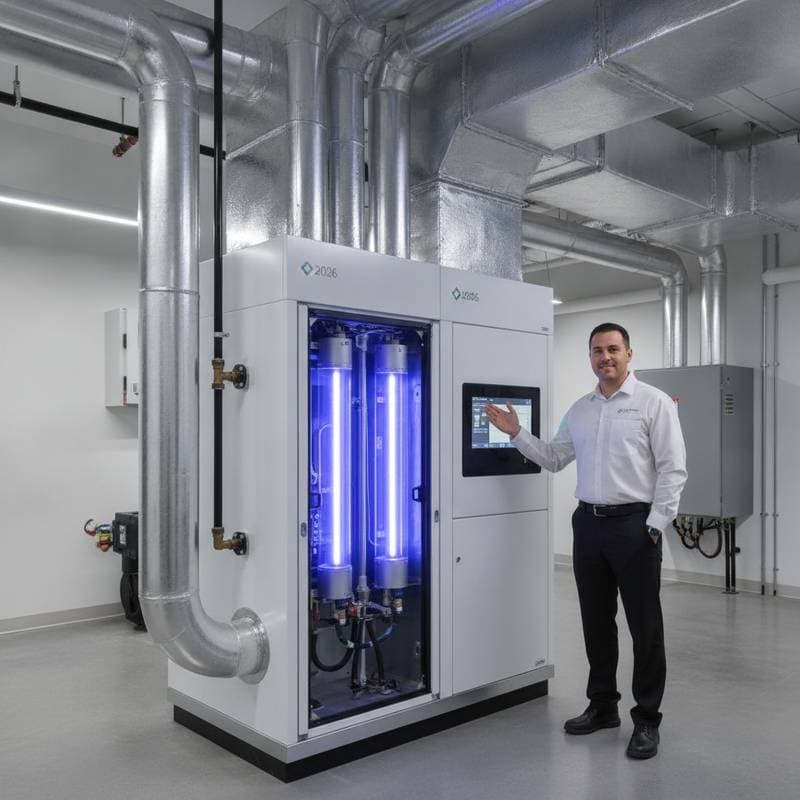
8. Schedule a Professional Tune-Up
While DIY efforts provide substantial benefits, a comprehensive inspection by a certified HVAC technician uncovers issues beyond basic maintenance. Professionals recharge refrigerant to optimal levels, clean inaccessible areas like evaporator coils, and verify electrical integrity through voltage checks and connection tightening. They also test safety features such as pressure switches and limit controls to prevent hazards like refrigerant leaks or electrical faults. Investing in an annual tune-up enhances warranty compliance, identifies efficiency opportunities, and ensures the system operates at peak capacity during high-demand periods.
Benefits of Proactive Spring Preparation
Engaging in these spring maintenance practices extends far beyond immediate repairs, fostering long-term reliability and cost efficiency for your HVAC system. Well-maintained units consume less electricity, qualify for potential rebates on energy-efficient upgrades, and contribute to healthier indoor environments by minimizing allergen circulation. Homeowners who prioritize seasonal care often report fewer service interruptions and extended equipment durability, translating to substantial savings over the system's lifespan.
Steps to Implement Your Maintenance Plan
Allocate time over the coming weekend to tackle these tasks systematically, starting with the simplest like filter replacement and progressing to more involved inspections. Gather necessary supplies in advance, including filters sized to your unit, sealants, and lubrication oil, to streamline the process. If uncertainty arises with any step, contact a local HVAC professional for guidance or a full-service visit, ensuring your home remains a cool sanctuary through the summer ahead.