Eight DIY Steps to Prepare Your HVAC System for Summer Efficiency
Preparing your HVAC system for the demands of summer supports cost savings, enhances comfort levels, and minimizes the risk of sudden failures. A targeted DIY maintenance routine, performed before peak heat arrives, equips your heating and cooling equipment to operate at peak performance. This detailed guide presents eight key spring maintenance procedures that reduce energy consumption and prolong equipment lifespan.
| Task | Purpose | Estimated Time |
|---|---|---|
| Replace air filters | Enhances airflow and system efficiency | 5-10 minutes |
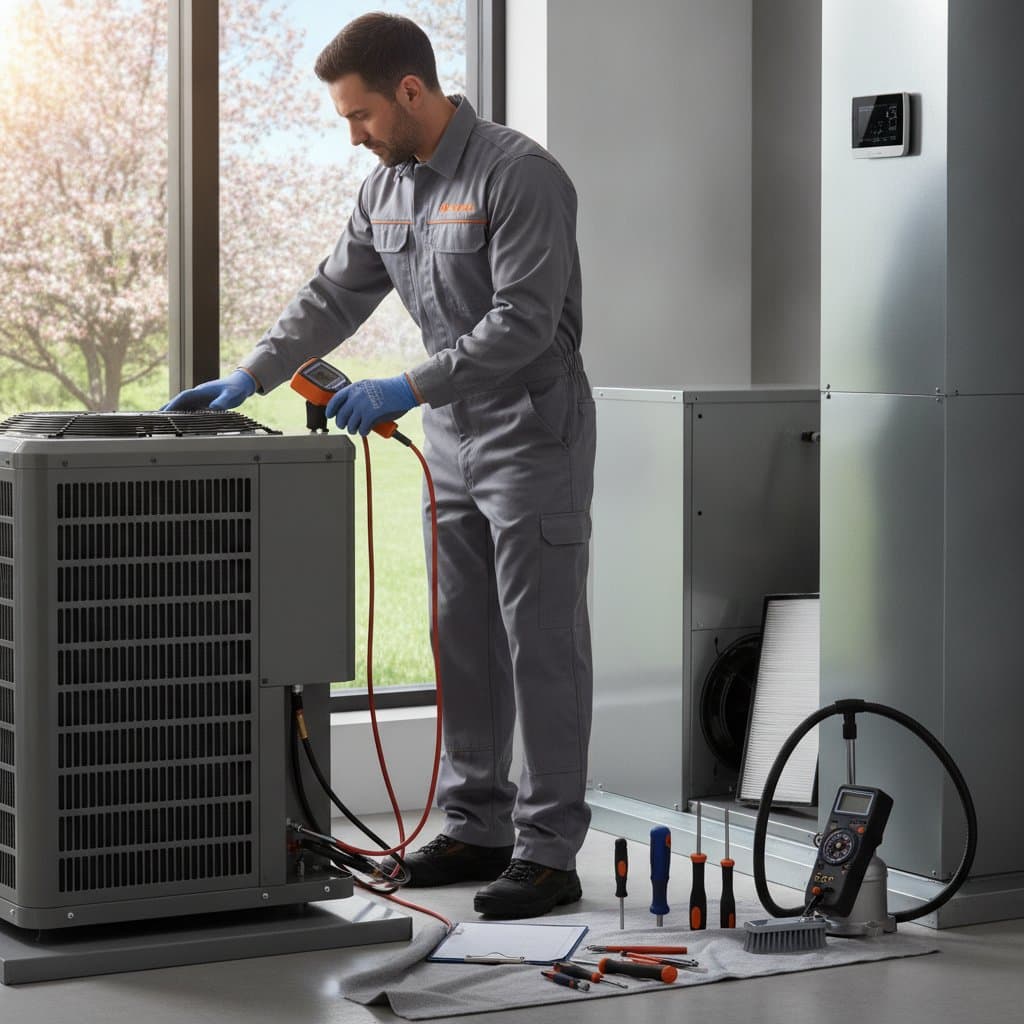
| Clean outdoor unit | Avoids overheating and component stress | 15-20 minutes |
| Inspect thermostat | Guarantees precise temperature regulation | 5 minutes |
| Clear vents and registers | Promotes optimal air distribution | 10 minutes |
| Check condensate drain | Prevents water leaks and structural damage | 10 minutes |
| Inspect ductwork | Minimizes air leakage and energy loss | 15-30 minutes |
| Test system operation | Verifies overall functionality | 5 minutes |
| Schedule professional tune-up | Secures enduring dependability | 30-60 minutes |
The Importance of Spring HVAC Maintenance
HVAC systems face maximum strain during elevated outdoor temperatures. Accumulated dust, pollen, and debris from winter and spring can obstruct filters and coils, compelling the air conditioner to labor excessively. Investing time in maintenance at this stage averts substantial repair expenses and elevates indoor air quality by diminishing allergens for a healthier living space.
Consistent upkeep boosts system efficiency by as much as 15 percent, translating to reduced summer utility bills. It also identifies minor problems early, ensuring reliable cooling precisely when required.
Step 1: Replace or Clean Air Filters
Clogged air filters rank among the primary reasons for diminished HVAC effectiveness. Restricted airflow from dirty filters compels the system to exert extra effort to achieve set temperatures, increasing wear and energy use.
Procedure for Replacing or Cleaning Filters
- Deactivate the HVAC system via the thermostat.
- Identify the filter compartment, typically adjacent to the return air duct or within the blower assembly.
- Extract the existing filter and note its dimensions, indicated on the frame edge.
- Install a fresh filter matching the exact size, aligning the airflow arrows correctly.
For reusable filters, rinse with mild soap and water, then dry thoroughly prior to reinsertion. Exchange disposable filters every one to three months to sustain optimal results.
Step 2: Clean the Outdoor Condenser Unit
The outdoor condenser expels heat extracted from indoor spaces. Seasonal buildup of leaves, grass, and soil around the coils impedes airflow, compromising operational efficiency.
Condenser Cleaning Process
- Disconnect power to the unit at the nearby switch or circuit breaker.
- Clear vegetation and debris from the unit base, maintaining a minimum two-foot perimeter.
- Hose down the coils gently from interior to exterior surfaces, employing low water pressure.
- Use a fin comb to realign any deformed fins, restoring unobstructed airflow.
Refrain from applying abrasive cleaners or high-pressure equipment, which risk harming sensitive coils and electrical elements.
Step 3: Inspect and Test the Thermostat
The thermostat serves as the central command for HVAC operations. A brief evaluation confirms accurate temperature sensing and seamless equipment coordination.
Essential Thermostat Verification Steps
- Transition the setting from heating to cooling and adjust the temperature several degrees below ambient levels.
- Monitor for system activation and verify cool air delivery shortly thereafter.
- Substitute batteries in models that require them.
- For outdated units, evaluate upgrading to programmable or smart versions that optimize energy use through automated scheduling.
Programmable thermostats facilitate up to 10 percent savings on yearly cooling expenses by modulating temperatures during absences or nighttime hours.
Step 4: Clear and Clean Indoor Vents
Obstructed vents accumulate dust, hindering air movement and overburdening the system. Routine clearing distributes cooling evenly across living areas.
Guidelines for Vent Upkeep
- Relocate obstructing items like furniture, drapes, or carpets from vent locations.
- Employ a vacuum cleaner equipped with a brush to dislodge dust and debris.
- Clean vent covers using a moistened cloth.
- Assess airflow strength; diminished flow signals potential duct obstructions or breaches.
Effective airflow distribution eases system workload while promoting uniform home temperatures.
Step 5: Examine the Condensate Drain Line
Air conditioners extract excess humidity via the condensate drain, which, if blocked, leads to water accumulation and potential harm to surrounding structures.
Drain Line Clearing Method
- Find the drain line exiting the indoor air handler, often a slender PVC conduit.
- Unscrew the cap on the T-fitting access point.
- Introduce one cup of white vinegar or diluted bleach solution to eliminate algae buildup.
- Allow 30 minutes for the mixture to act, followed by a thorough water rinse.
Periodic attention to the drain maintains unobstructed moisture removal and safeguards system integrity.
Step 6: Inspect Ductwork
Compromised ducts squander up to 30 percent of conditioned air en route to occupied spaces. Identifying and repairing leaks optimizes delivery and conserves energy.
Detecting Duct Issues
- Operate the system and palpate joints for escaping air currents.
- Scan for apparent separations, unsecured fittings, or deteriorated insulation.
- Apply foil tape or mastic compound to seal minor imperfections.
- Engage specialists for extensive repairs or thorough cleaning.
Secure ducts ensure balanced air supply, heightening comfort and curbing unnecessary power draw.
Step 7: Test System Performance
Following maintenance tasks, evaluate the HVAC to affirm seamless integration and readiness for warmer weather.
Testing Protocol
- Reconnect system power sources.
- Engage cooling mode on the thermostat and decrease the target temperature.
- Observe for consistent airflow and chilled output after a brief interval.
- Note any aberrant sounds, including vibrations or mechanical groans.
Subpar operation or amplified noise warrants immediate professional review to sidestep summer disruptions.
Step 8: Arrange a Professional Tune-Up
While DIY efforts address surface-level needs, certified technicians access refrigerant, wiring, and core components for comprehensive assessment. An annual tune-up calibrates the system for sustained peak performance.
Professional Service Elements
- Thorough cleaning of evaporator and condenser coils.
- Refrigerant level verification and adjustment as necessary.
- Examination of electrical wiring and capacitors.
- Lubrication of mechanical components and belt inspections.
- Measurement of temperature drops and airflow metrics.
Such servicing delivers assurance that the system withstands seasonal rigors without faltering.
Elements Affecting HVAC Efficiency
Beyond routine care, multiple variables shape cooling system productivity. Grasping these enables informed tweaks for ongoing enhancements.
Filter Selection and Care
Superior filters capture finer particles, preserving air purity and shielding internal parts. Adhere to a schedule of regular replacement or cleaning to uphold efficacy.
Equipment Age and State
Aging units gradually forfeit efficiency. When nearing obsolescence, transition to contemporary high-SEER models to achieve lasting reductions in operating costs.
Building Envelope Integrity
Inadequate insulation or sealing undermines even advanced systems. Address drafts at windows, doors, and attics to retain cooled air indoors.
Thermostat Configuration
Elevating settings modestly during unoccupied periods curtails consumption. Intelligent models automate these shifts for effortless optimization.
Duct Configuration
Inefficient layouts yield inconsistent temperatures and losses. Persistent hot spots in certain areas suggest the need for professional duct evaluation.
Indicators Requiring Additional HVAC Service
Despite proactive maintenance, specific symptoms signal the necessity for expert intervention.
- Disparities in room temperatures
- Reduced or erratic airflow
- Anomalous sounds like grinding or clattering
- Escalating bills absent usage changes
- Unpleasant odors emanating from ducts
- Excessive on-off cycling
Prompt resolution of these cues forestalls extensive damage and sustains operational smoothness.
Frequently Asked Questions on Summer HVAC Preparation
How frequently should air filters be replaced?
Standard filters warrant replacement every one to three months. Residences with pets or allergy sensitivities benefit from more frequent intervals to preserve airflow and purity.
Is it safe to clean the outdoor unit without specialized equipment?
Affirmative; a standard garden hose suffices for condenser rinsing with moderate pressure. Steer clear of pressure washers or corrosives to protect coil integrity.
What thermostat temperature optimizes summer comfort and savings?
Mid-70s Fahrenheit suits most homes effectively. Marginal increases during absences further economize without discomfort.
Does closing vents in vacant rooms conserve energy?
Such actions elevate internal pressures, potentially harming efficiency. Opt for open vents paired with zoning controls or smart devices for superior management.
How to detect low refrigerant levels?
Signs include tepid vent output, coil icing, or refrigerant hissing. Certified professionals alone handle detection and replenishment.
When is the optimal period for a professional tune-up?
Spring timing allows ample technician availability and preemptive readiness. Delaying to midsummer invites scheduling delays amid high demand.
Strategies to enhance summer indoor air quality?
Install high-MERV filters, seal windows against pollen, and deploy dehumidifiers as required. Consistent cleaning routines further mitigate particulates.
Implementing Maintenance for Optimal Summer Performance
Execute these steps systematically to fortify your HVAC against summer challenges. Consistent application yields measurable savings, superior comfort, and reduced repair risks, transforming the season into one of effortless cooling.